Sewing tutorial: transform the “Gathers & Victorian collar” top into a blouse

You know how much I love the customization and versatility of patterns. After the free pattern " Just the bottom " which allows you to sew skirts with customizable patterns, I would like to offer you a tutorial to transform the top " Ruffles and Victorian collar " and sew it into a blouse instead of a dress or jumpsuit.
Trace the new pattern
The modifications are made on a pattern without seam allowances .

Start by extending the center front and center back 22cm from your waistline (petite, standard or tall).

Draw a perpendicular line at the center front and center back. To determine their lengths, measure your hip circumference and add an ease of 6 cm.
For example, for a size 38: hip measurement (94 cm) + ease (6 cm) = 100 cm.
The front measures 100 cm / 4 + 1 cm = 26 cm.
The back measures 100 cm / 4 - 1 cm + button placket (3 cm) = 27 cm.

Bring the end up 1 cm and trace the hem line in a slight curve.

On the front and back, trace the side lines from the armhole to the hem. Redraw the curve of the armhole to get a right angle with the side line.

Check that the sides are the same length on the front and back. If necessary, readjust the hem line. Add seam allowances all around.
Sew the blouse
Consult the pattern instruction booklets for assembling the blouse.
Follow the pattern instructions in chapters 3 and 4. Assemble the front and back pieces at the sides in chapter 5. In chapter 6, sew the buttonholes and sew on the buttons. Set in the sleeves and finish with the hem.
Here, the fabric has quite a bit of hold, so I chose to remove the ruffle from the collar for a more minimalist version.
As for the buttons, there are 8 on the back, spaced 8 cm apart.

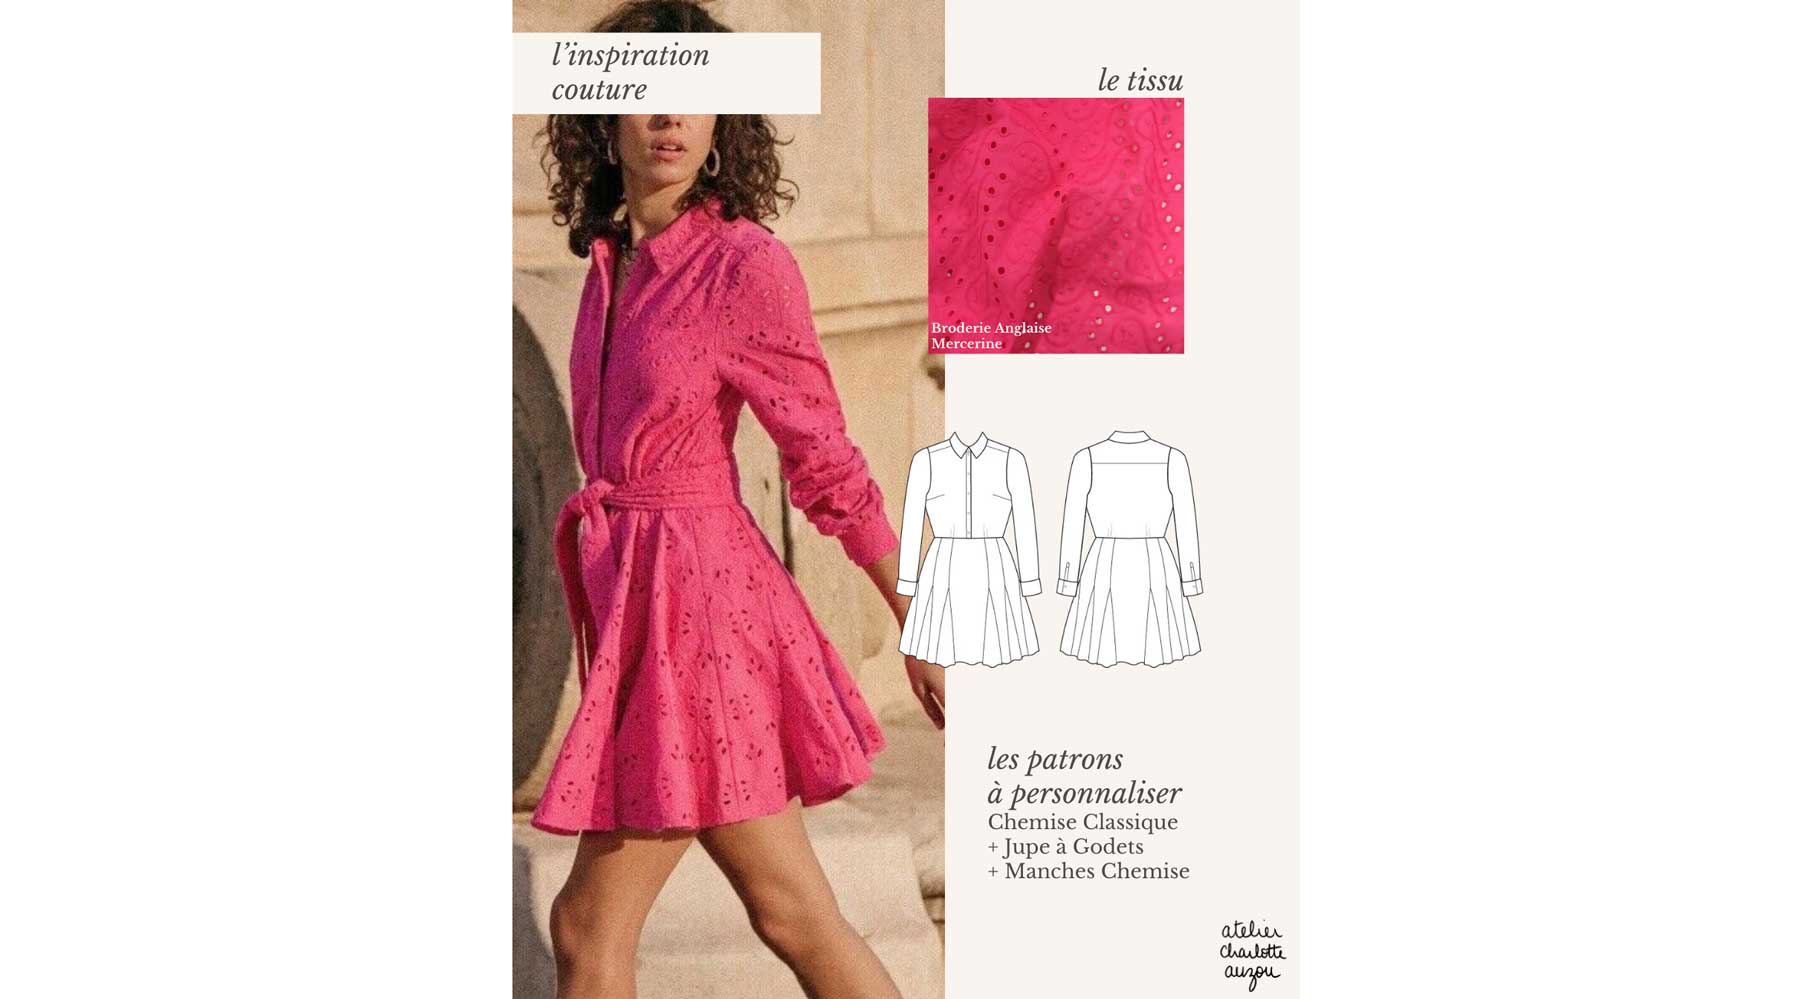
#MaRobeAtelierCharlotteAuzou Pattern “ Gathers & Victorian Collar ” and “ Puffy Sleeves ”
Pretty Mercerie embroidered cotton fabric


7 comments
Wow, ce tutoriel est très clair! J’apprécie beaucoup les efforts que vous faites pour nous permettre une meilleure autonomie en couture. C’est chouette d’avoir UNE source fiable de patrons abordables et de conseils pratiques! Merci Charlotte!
Ioana
@SANDRINE : malheureusement non, ces patrons ont des pinces ce qui rend l’adaptation en blouse plus difficile. Mais vous pouvez les coudre en top style peplum à basques en les mixant avec la jupe froncée ou la jupe patineuse raccourcies ;)
CHARLOTTE
MERCI!! pour ce tuto!
C’est bête je l’ai tenté en blouse hier!!! et bien sur je n’ai pas mis assez d’ampleur, la blouse ne ferme pas dans le bas du dos, c’était une toile donc pas grave, mais je me demandais comment le modifier en mieux, maintenant je sais!! ca tombe à pic! un grand merci!
Ninon
Bonjour Charlotte,
Merci pour ce tuto!
Peut-on utiliser la même technique de “rallongement” des pièces pour les modèles cache-cœur, classique et encolure bateau?
Belle journée à toi
Sandrine
Sandrine ROCOUR
@AURÉLIE : c’est une façon assez simple d’avoir un angle droit entre ma ligne de côté et ma ligne d’ourlet. Ainsi, quand le devant et le dos sont assemblés par les côtés, la ligne d’ourlet est droite. Bonne couture !
CHARLOTTE
Merci pour ce tuto ! Je n’avais pas évasé sur les côtés ni fait d’arrondi en bas, mais c’était plus une version cropped !
Elisabeth
Bonjour Charlotte,
Merci pour ce chouette tuto.
Je suis relativement novice en couture, ce qui peut expliquer ma question: dans les calculs pour allonger le devant et le dos tu ajoutes/retranches 1cm. Peux-tu en expliquer la raison ?
Je t’en remercie par avance
Aurélie
Aurélie Fournier
Leave a comment
This site is protected by hCaptcha and the hCaptcha Privacy Policy and Terms of Service apply.