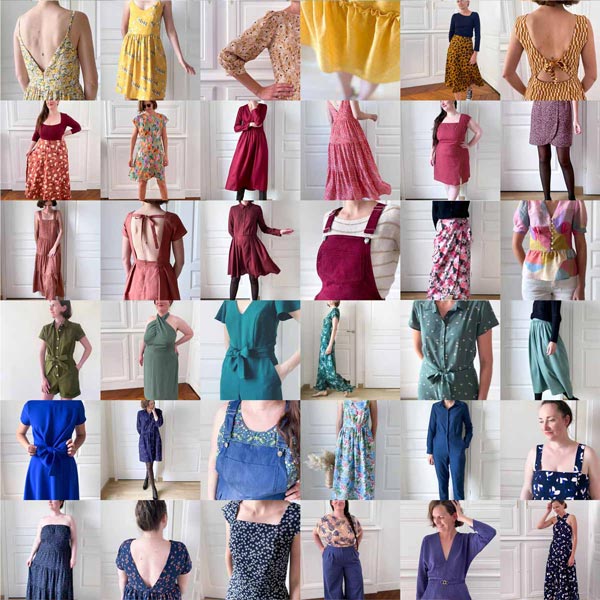

A small ruffle sewn on a neckline, the cuff of a sleeve, a bare back... What a pretty detail that I suggest you sew today with a tutorial that adapts to all your sewing patterns.
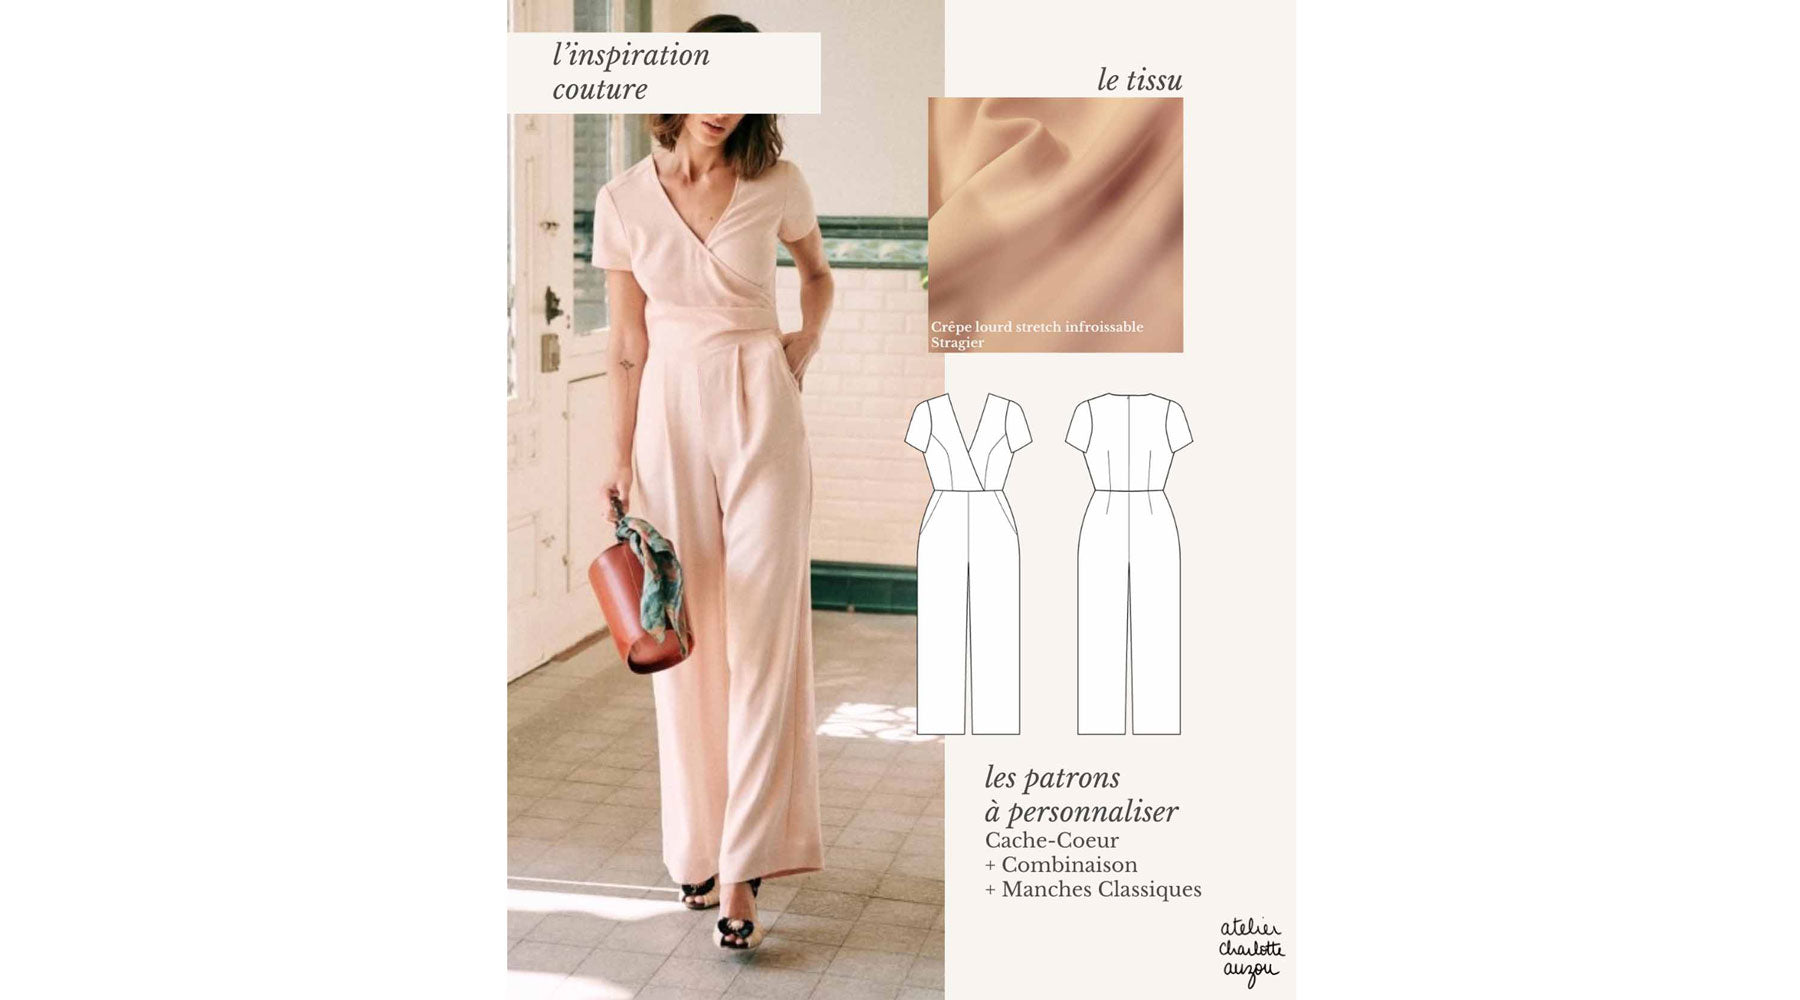
For our example, I started with my classic wrapover pattern to personalize, to which I added a ruffle at the neckline.
The measures
Measure where you want to sew your ruffle. Here, it is the front neckline and the back neckline of the wrapover. We get 46 cm + 13 cm, or 59 cm in length.
Multiply this length by 1.4 to get the length of the steering wheel, which is 82 cm. You can round up ;)
Cut two strips (one for each side of the wrap) 6 cm wide and 82 cm long. The ruffle will be 2 cm high when folded and sewn. Be sure to respect the straight grain and not to cut your strip on the bias.

The assembly
Fold your strip right side against right side and stitch 1 cm from the edge on a small side. This side will then be placed in the middle of the back, at the level of the invisible zip.
Trim the corners and turn right side out.
Sew two gathering threads. The first is 1.5 cm from the edge, the second is 0.5 cm from the edge, at the bottom of the flounce (not on the fold side).
A gathering thread is sewn in a contrasting color, without backstitching at the beginning and end, with minimum thread tension and maximum straight stitch length.

With the dress fabric right side out, position the side of the ruffle that is closed at the neckline in the middle of the back. Be sure to leave 1 cm of space with the middle of the back, this will then allow you to place the invisible zip.

Position the second short side of the ruffle at the bottom of the front neckline of the wrap. Wrap the gathering threads in a figure 8 shape around the pin to block them.
Form the gathers from the back and distribute them evenly along the neckline.
Sew the ruffle to the neckline 1 cm from the edge, between the gathering threads. Once the sewing is done, remove the gathering threads using a seam ripper.

Understitch the seam, lining or facing side, making sure to take into the seam all the seam allowances positioned underneath.


•
And here is the result!


4 comments
@PASCALE : avez-vous bien sous-piqué à l’intérieur en prenant dans votre couture les marges du volant ? Cela aide fortement à maintenir le volant en place. Belle journée
CHARLOTTE
Bonjour,le mien a tendance à se retourner vers l’extérieur,pouvez vous me dire pourquoi ?
Merci
Pascale Pierrot
@ALICIA : pour coudre un galon de dentelle sur une encolure en V, je vous conseille de le diviser en 2 et de la coudre de chaque côté de l’encolure séparément. Faites disparaître le galon vers l’intérieur de la robe quand vous vous approchez du creux du décolleté. Bonne couture, Charlotte
CHARLOTTE
Bonjour et merci pour votre article! Je suis entrain d’essayer de coudre un galon dentelle assez épais sur un col V doublé dune parementure et je ne vois pas comment faire au niveau du V. Avez vous des conseils me donner pour que le galon se retrouve en dessous du tissu du devant entre le tissu et la parementure donc. Et pour que le V soit parfait! Merci d’avance j’ai épuisé les tutos YouTube mais je ne trouve le rien…
Alicia
Leave a comment
This site is protected by hCaptcha and the hCaptcha Privacy Policy and Terms of Service apply.