Transform the “Halter-neck” pattern into a top

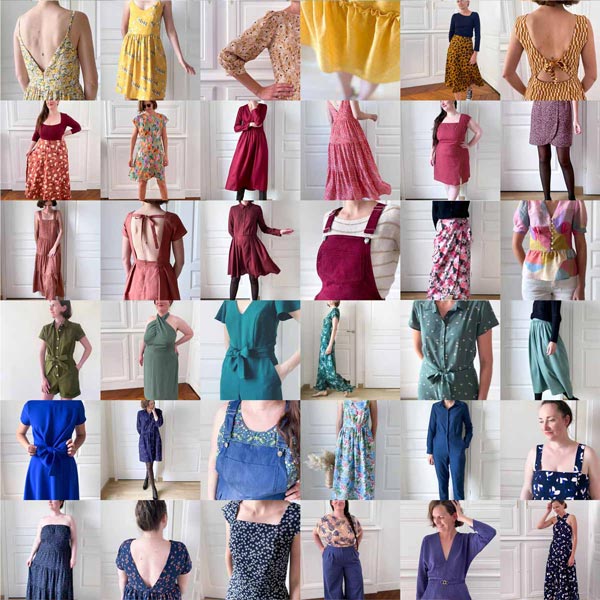
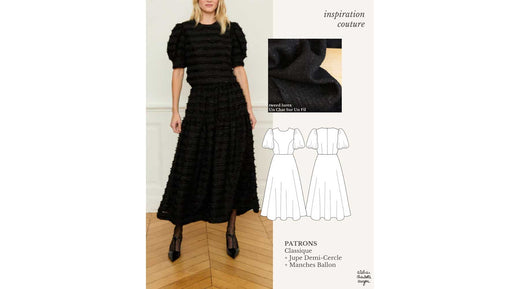
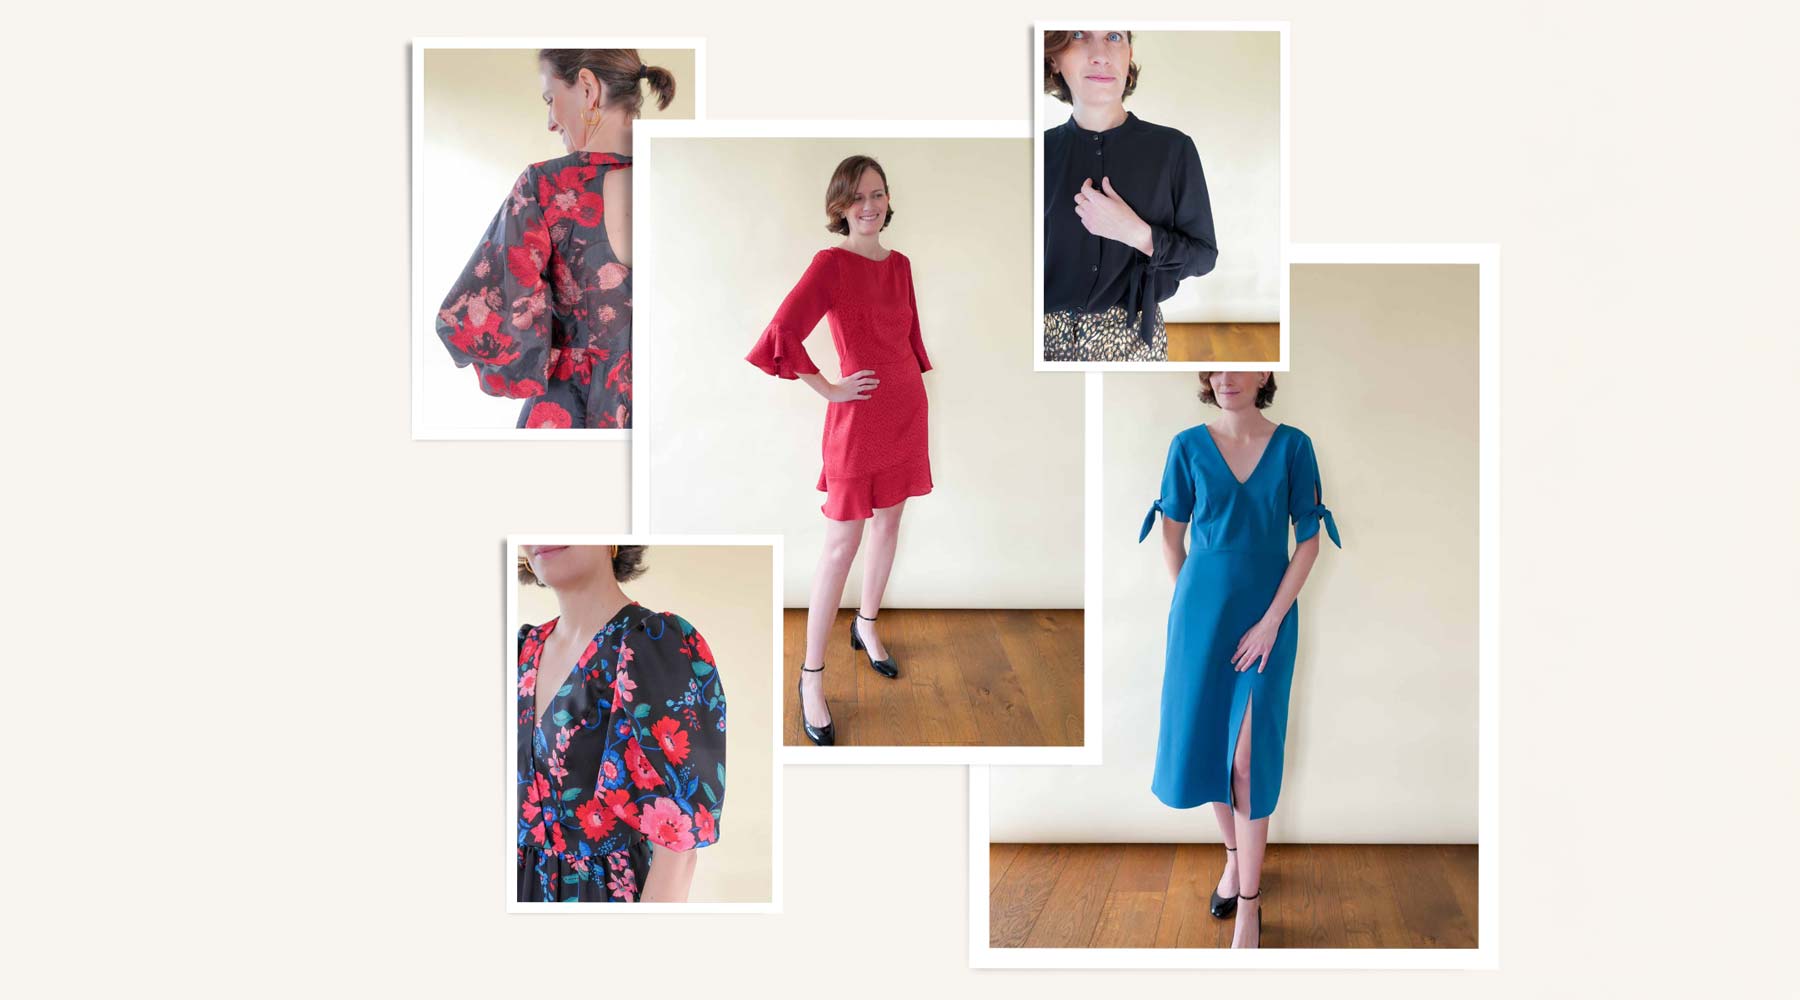
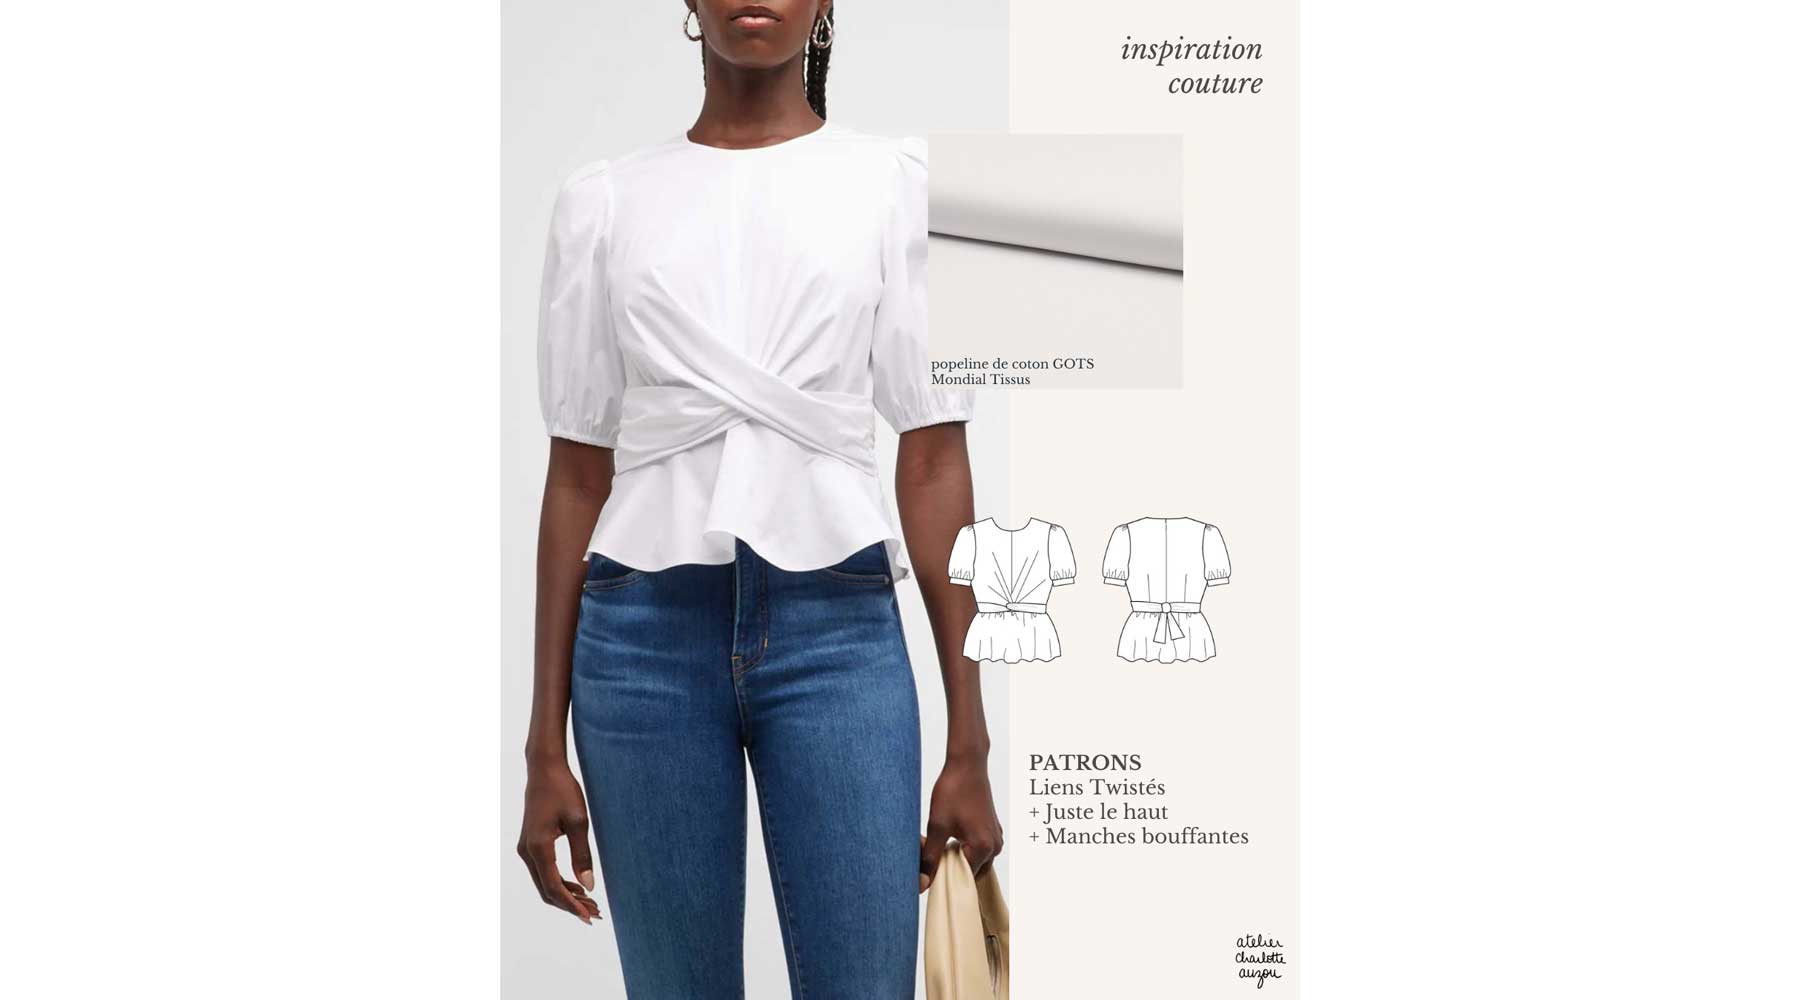
A pattern that you can sew dozens of times without getting tired of? That's the goal of customizable patterns. The Foulard pattern can become a short dress, a jumpsuit, a formal outfit but also a little top with the tutorial that I offer you today.
Supplies
55 cm of main fabric in 140 cm width
55 cm of lining fabric in 140 cm width
1 invisible zip 22 cm long
straight-grain ribbon and iron-on bias

The boss
To make this tutorial, you must purchase the Scarf customization pattern.
The changes will affect the front and back pieces.
Choose the size that matches your chest size. You can work on the pattern with margins included.

On the front piece, extend down the center front and side 17 cm, from the waist line corresponding to your height.

Connect the two rounded points to draw the hem line. The ends of the line are perpendicular to the center front and the side. The waist dart is removed.

On the front piece, overlap the back piece. The arrows indicating the straight grain are parallel, the peak of the back side is aligned with the peak of the front side.

Trace the new back piece: the side is the same as for the front, the middle back is parallel to the straight grain. Repeat the tracing of the front hem.

In the middle of the back, remove the 1 cm seam allowance so that you can cut this piece on the fold.


Sewing
Here are the adaptations to be made in relation to the instruction booklet.
• The back is to be cut at the fold.
• Move the invisible zip into the right side seam.
• Double your Scarf top as explained in the booklet for a beautiful finish.
• Shorten the lining by a few centimeters before sewing the hem.
Happy customizing and happy sewing!


Leave a comment
This site is protected by hCaptcha and the hCaptcha Privacy Policy and Terms of Service apply.