Sewing tutorial: elastic belt with buckle

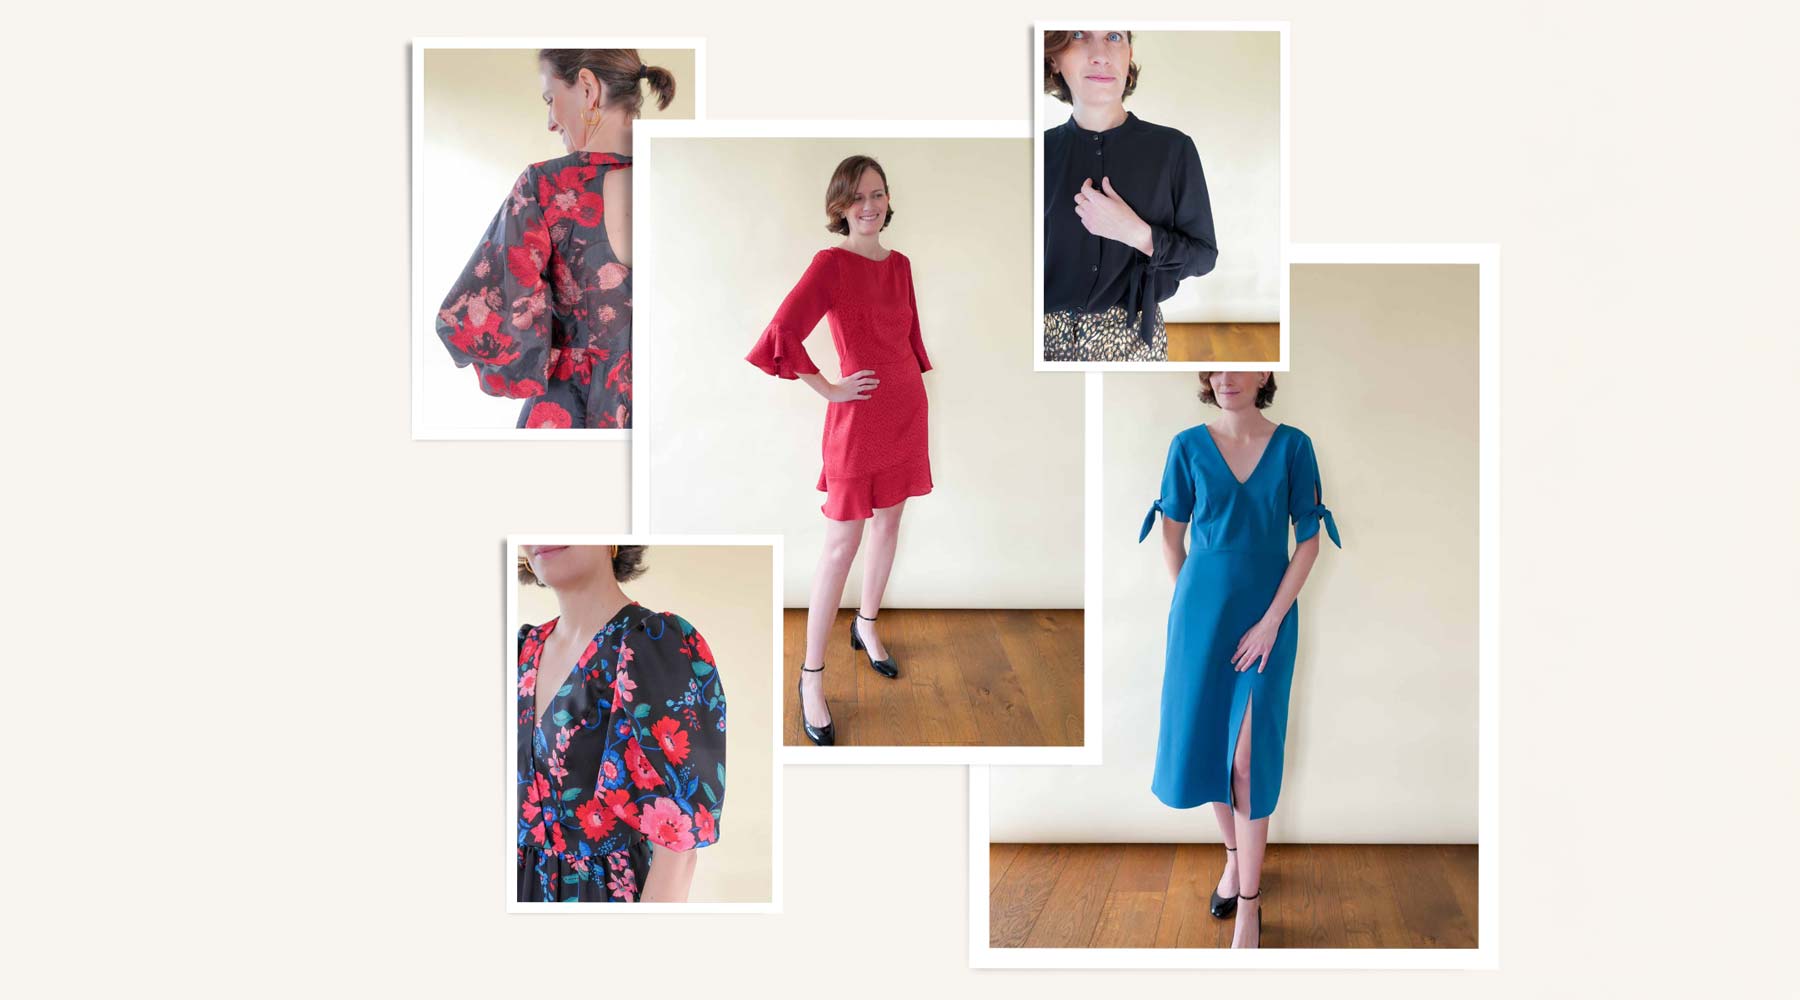
The custom dresses from the #MaRobeAtelierCharlotteAuzou patterns are fitted at the waist. When I sew them, I like to add a little ease at the waist for more comfort and add a belt to fit as I like. Perfect for the end-of-year parties and their good meals ;)
After the sewing tutorial for the tie belt , today I offer you a step-by-step guide to sewing an elastic belt with a buckle.
Supplies
1 belt buckle 2 cm high (Cousette)
1 flat elastic band (here 2 cm high)
1 strip of fabric ( Dobby night Atelier Brunette )
Measures
Height of the fabric strip : multiply the width of the elastic by 2 and add 3 cm of margins for seams and ease. So for an elastic 2 cm wide, the fabric strip will be (2 cm x 2 + 3 cm =) 7 cm high.
Length of the fabric strip : measure your waistline and multiply it by 1.6. For example, for a waistline of 70 cm, the fabric strip will be (70 x 1.6 =) 112 cm.
Elastic length : measure your waistline (here 70 cm). Also measure the width of your loop (here 4 cm). To determine the length of the elastic, subtract the width of the loop from the waistline and add 2 cm of margins. For example, 70 cm - 4 cm + 2 cm = 68 cm.
Assembly

1/ Fold the strip of fabric, right side against right side, lengthwise. Sew 1 cm from the edge along the entire length without closing the ends.

2/ Using an iron, spread the margins and center the seam.

3/ Turn right side out using a bias binder.
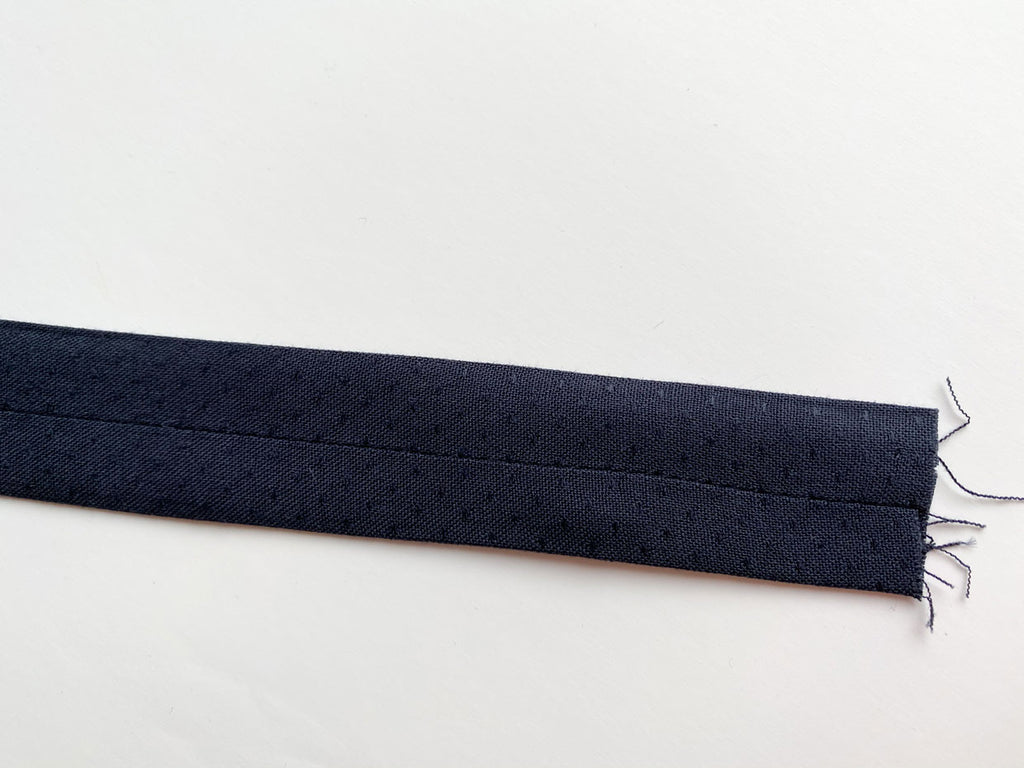
4/ Iron, making sure to keep the seam in the middle of the belt. This way it will be completely hidden when you wear the belt.


5/ Using a safety pin, slide the elastic into the strip of fabric. Since the elastic is shorter, gather the fabric and make sure that the elastic sticks out on both sides. Place a pin on one end to help you.

6/ Slide the elastic inside the strip of fabric. There is 1 cm of fabric left without elastic, and the rest of the belt with elastic. Place a pin to hold in place.

7/ Slide the belt into the buckle 3 cm. Pay attention to the direction, here is the reverse of the belt and the buckle.

8/ Fold the belt over 1 cm (elastic part), then over 2 cm and pin.
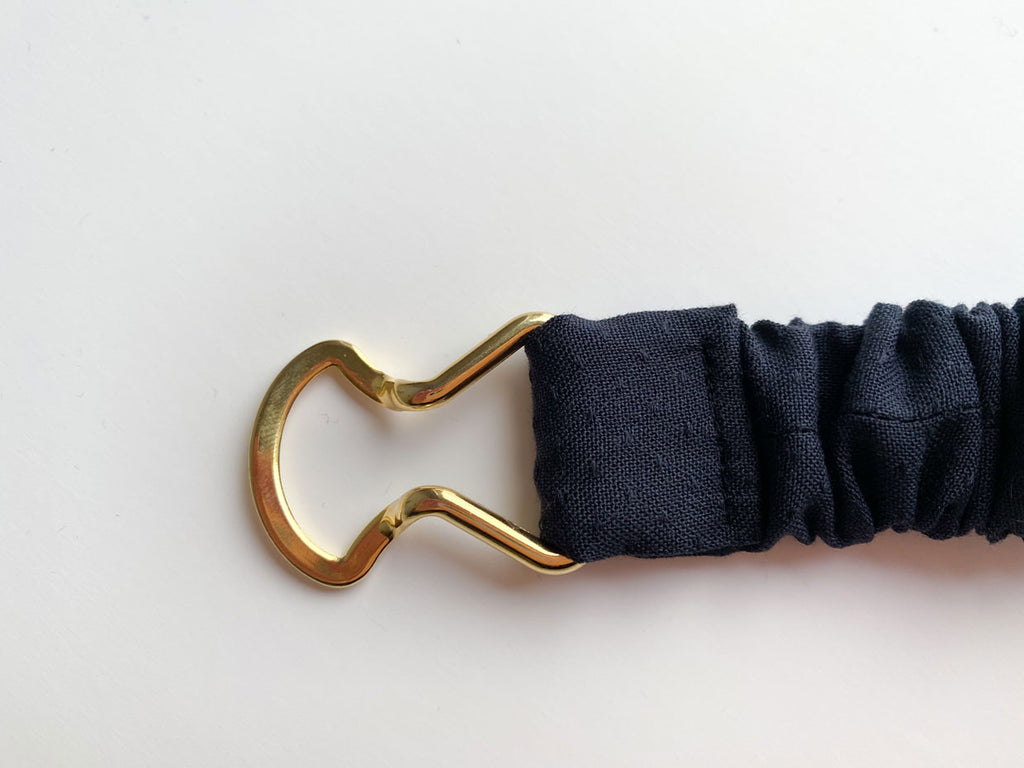
9/ Sew with a straight stitch as close to the fold as possible. Make sure to consolidate your seam with back stitches at the beginning and end.

10/ Repeat steps 6 to 9 on the other end of the belt with the second part of the buckle.
TAADAA!

Dobby night fabric Atelier Brunette


5 comments
Merci pour ces explications! Je viens de terminer ma ceinture et grâce à vos explications très claires j’ai pas trop galéré 🙃
Gabrielle
Oh merci beaucoup ! Je cherche ce type de ceinture depuis un moment. Alors encore merci pour ce partage.
martine
Bonjour, merci pour ce modèle de ceinture, (rien ne me plaît et convient dans le commerce).
Je pense la faire plus large avec qq broderies sur le thème du mariage pour embellir et donner une touche plus claire à la robe (du commerce) en espérant trouver une boucle rapidement.
Je regarderai de plus près vos patrons et site pour me lancer.
Bonne journée
Mic78
Michèle78
@MARIEL : c’est bien 1,6. Merci d’avoir remarqué la coquille ;)
CHARLOTTE
Bonjour et merci pour ce tuto simple et précis
Juste une question : du coup pour la mesure du tissu, il faut multiplier son tour de taille par 1,6 ou 1,8 ? Vous avez écrit les 2 et du coup j’hésite…
Merci et bonnes fêtes de fin d annee à vous
Mariel
Leave a comment
This site is protected by hCaptcha and the hCaptcha Privacy Policy and Terms of Service apply.